

Overview
Every good blouse starts with a tape and about ten minutes. You need the bust, upper chest, under-bust, waist, shoulder, armhole, blouse length, front neck depth, back neck depth, sleeve length, sleeve round and dart point. Below you will find how to take each one, a standard size chart for sizes 32 to 44, the ease most tailors add, and the mistakes that cause most alterations.
What you need before you start
- A soft cloth measuring tape in inches. Old tapes stretch, so check yours against a steel ruler once in a while.
- The bra the client will wear with the saree. Padded and non-padded bras can change the bust by an inch or more.
- A thin top or the client’s old blouse, not a thick kurta.
- A notebook, or better, a place where the numbers are saved against the client’s name so you never measure the same client from zero again.
Ask the client to stand straight and relaxed with arms down. Do not let her hold her breath in. Keep the tape snug but able to slide, never tight.
How to take each blouse measurement
1. Bust (full chest)
Wrap the tape around the fullest part of the bust, keeping it level across the back. This is the measurement the size chart is based on.
2. Upper chest
Measure around the body just under the armpits, above the bust. It helps shape the neckline and stops the blouse from gaping at the top.
3. Under-bust
Wrap the tape right under the bust where the bra band sits. This decides how snug the lower part of the blouse feels.
4. Waist (blouse waist)
For a blouse, the waist is where the blouse will end, usually two to three fingers below the under-bust. Do not confuse it with the trouser waist.
5. Shoulder
Measure across the back from the edge of one shoulder bone to the other. Ask the client to stand normally. Hunched shoulders give a smaller number.
6. Armhole
Wrap the tape around the shoulder joint and under the armpit, like a loop. Keep one finger inside the tape for comfort. Many fitting complaints come from armholes that are too tight.
7. Blouse length
Measure from the highest point of the shoulder, near the neck, straight down over the bust to where the blouse should end.
8. Front neck depth
Measure from the shoulder point near the neck down to where the front neckline should sit. Show the client the depth in a mirror before writing it down.
9. Back neck depth
Measure from the base of the neck at the back down to the desired back neckline. Back designs like deep U, boat or dori styles need this to be exact.
10. Sleeve length
Measure from the shoulder edge down to where the sleeve should end: short, elbow or three-quarter.
11. Sleeve round
Measure around the arm at the point where the sleeve will end. For short sleeves this is the upper arm, so measure it at its fullest.
12. Dart point (apex)
Measure from the shoulder point down to the tip of the bust. This places darts and princess seams correctly and is the secret behind a blouse that sits smoothly.
Standard blouse size chart (inches)
This is a typical starting chart, similar to the ones many Indian boutiques use. These are body measurements. Charts differ from shop to shop and brand to brand, so use this only as a guide when a client cannot come in.
| Size | Bust | Under-bust | Waist | Shoulder | Armhole | Blouse length | Sleeve round (short) |
|---|---|---|---|---|---|---|---|
| 32 | 32 | 27 | 26 | 13.5 | 14 | 14 | 10 |
| 34 | 34 | 29 | 28 | 14 | 15 | 14.5 | 10.5 |
| 36 | 36 | 31 | 30 | 14.5 | 16 | 15 | 11 |
| 38 | 38 | 33 | 32 | 15 | 17 | 15 | 12 |
| 40 | 40 | 35 | 34 | 15.5 | 18 | 15.5 | 12.5 |
| 42 | 42 | 37 | 36 | 16 | 19 | 15.5 | 13 |
| 44 | 44 | 39 | 38 | 16.5 | 20 | 16 | 14 |
Very few bodies match one row exactly. A woman with a 36 inch bust may have a 33 inch waist and a 15 inch shoulder. That is exactly why custom measurement beats any chart. Use the chart to choose a base pattern, then adjust with the real numbers.
Ease allowances: how much to add
Body measurements are not stitching measurements. The master adds ease so the client can breathe, sit and lift her arms. Common practice looks like this:
- Bust: about 1 to 2 inches for a regular fit, closer to 1 inch for a fitted designer blouse, more for cotton everyday blouses.
- Waist: about 1 inch, a little more if the client wants to eat comfortably at a wedding.
- Armhole: about 1 inch, so the arm moves freely.
- Sleeve round: about 1 inch for short sleeves. Stretchy or net sleeves need less.
Lining, padding and heavy embroidery all take up space. If the blouse has cups or thick handwork, add a little extra or do a trial before final stitching.
Common blouse measuring mistakes
- Measuring over the wrong bra. Always ask which bra she will wear with this saree.
- Pulling the tape tight. A tight tape gives a smaller number and a blouse that pinches.
- Tape slipping down at the back. For bust and under-bust, check the back in a mirror.
- Mixing up waist points. Write down where you measured the waist.
- Not noting posture. If one shoulder is lower or the client stoops a little, write a note. The master can adjust.
- Losing the numbers. Measurements written on a loose slip or the back of a bill get lost by the next wedding season.
Keep each client’s measurements safe
Bodies change, so take fresh measurements every few months for regular clients, and before every bridal order. Keep old sets too, because comparing them helps when a client says “last year’s blouse fitted perfectly”.
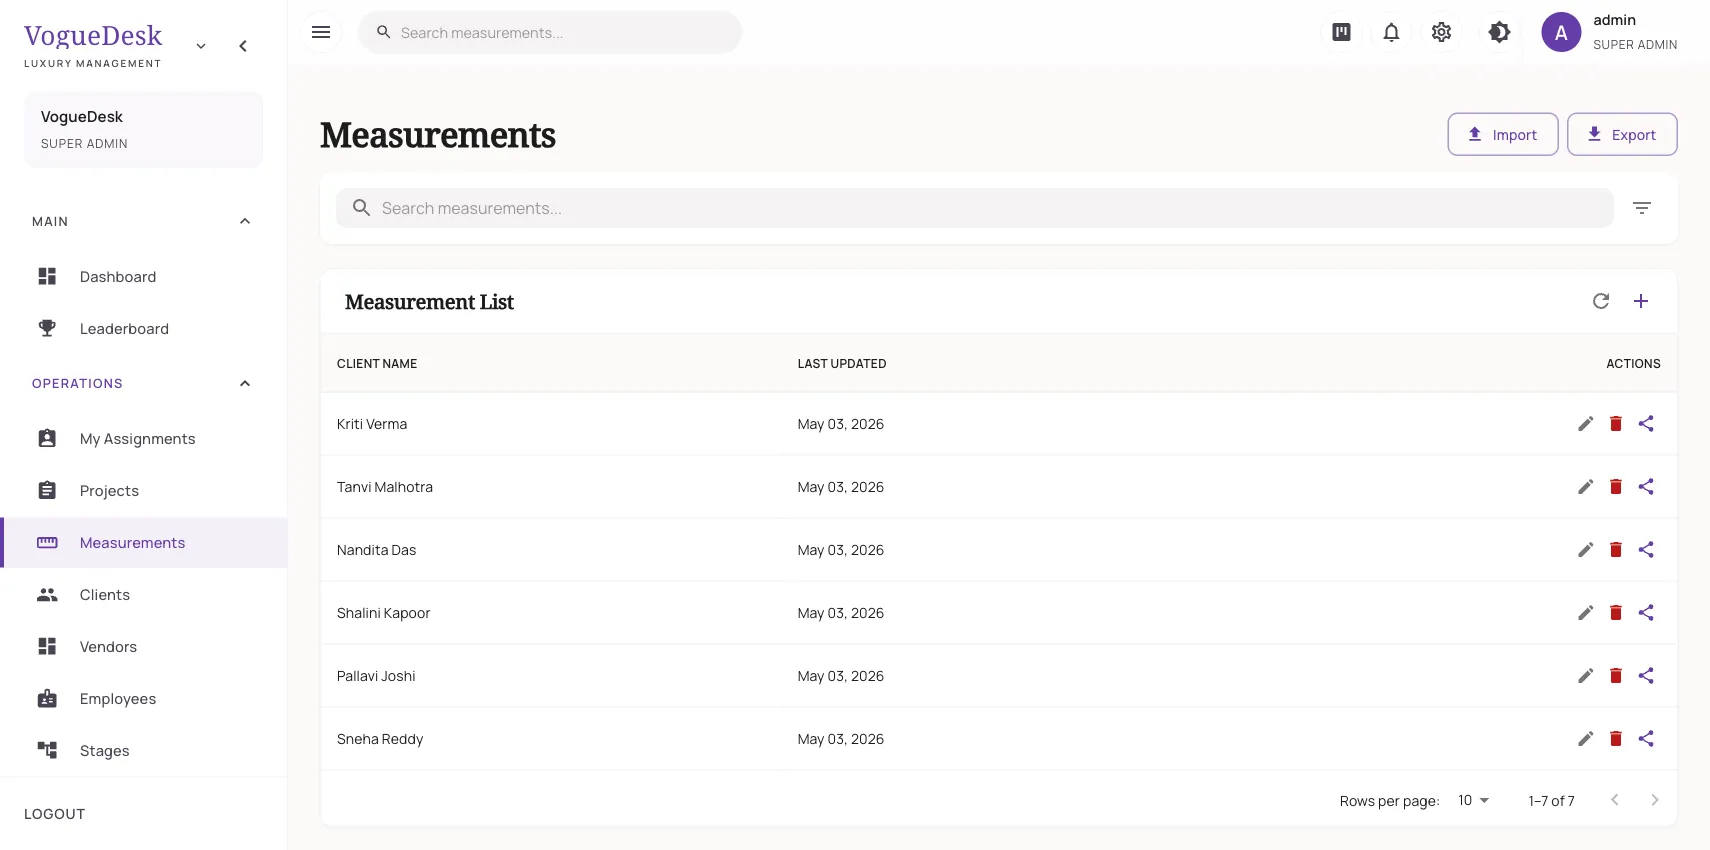
If you run a boutique, a measurement app saves a lot of time here. VogueDesk stores blouse fields such as bust, upper chest, waist, shoulder, armhole, blouse length, neck front and back, sleeve length, sleeve round and dart point. You can keep several named, dated measurement sets for each client and add notes for posture or fit. The free plan covers unlimited clients and measurements with one login and 30 orders a month, and you can see the other plans on the pricing page.
For other garments, see the salwar kameez measurement chart and the lehenga measurement chart. If you are setting prices, read our guide to building a blouse stitching rate list.
Frequently asked questions
What is the most important measurement for a blouse?
Bust and shoulder matter most, followed by armhole. If the bust is wrong the blouse will gap or pull, if the shoulder is wrong it slips or pinches, and a tight armhole makes the whole blouse uncomfortable.
Should blouse measurements be taken over a bra?
Yes. Measure over the bra the client will actually wear with the saree, ideally a well-fitting non-padded or the same padded one. Measuring over a different bra is one of the most common reasons for a bad fit.
How do I know my blouse size from a chart?
Measure your full bust in inches over your usual bra. Pick the size closest to that number, so a 35 inch bust is usually stitched as 36. Then check shoulder and waist, because many women need a different size at the waist.
How much loosening should a tailor add to a blouse?
Most tailors add around 1 to 2 inches to the bust for a regular fit and less for a fitted look. The waist and armhole get a smaller allowance. The exact ease depends on the fabric, lining and the fit the client wants.
Can I measure an old blouse instead of my body?
Yes, an old blouse that fits well is a good reference. Lay it flat and measure across the bust, waist and shoulder, then double the bust and waist. Tell the tailor these are garment measurements, not body measurements.